I love the flavors of India - - cumin, tumeric, curry. I love it all. I don't care that the smell of the strong spices will linger on your skin and in your hair for days. Nathan and I usually hit our favorite Indian restaurant on the weekend for their lunch buffet and leave totally satisfied and full for the rest of the day. Luckily, making Indian food at home is relatively easy, and equally satisfying.
I've never been a huge fan of the cauliflower. I mostly like it raw, but if given an option I would always choose broccoli or peppers or any other kind of veggie platter vegetable. However, I adore cauliflower in it's roasted state. It turns slightly brown and takes on an almost nutty flavor, yet still retains a tender crispness that I like. So, instead of following the original recipe, and boiling my cauliflower and potatoes, I decided to roast them. (Which also saved my kitchen from that terrible cauliflower stench!)
INDIAN SPICED CAULIFLOWER AND POTATOES
1 head of Cauliflower, cut into 3/4 inch florets
1 pound of Potatoes, peeled and cut into 1/2 inch cubes
1 medium red pepper, cubed
5 tbsp vegetable oil
1/2 tsp cumin seeds
salt
1 medium onion, finely chopped
2 garlic clove, finely minced
2 tsp minced peeled fresh ginger
1 tbsp ground cumin
1 tsp ground corriander
1/2 tsp tumeric
1/2 tsp cayenne
1 tbsp paprika
1 cup water
1/4 cup sour cream
Preheat oven to 475 degrees.
Toss cauliflower and potatoes together on a large baking sheet with about 3 tbsp of vegetable oil, cumin seeds and season with salt. Roast on the top rack in your oven for about 20 minutes, turning once, or until the cauliflower begins to brown, and the potatoes are tender.
While the cauliflower and potatoes are roasting, cook the onion, garlic and ginger in a large skillet with the remaining 2 tbsp of vegetable oil over medium heat, stirring frequently, until the onions turn translucent. Add your spices: cumin, coriander, tumeric, cayenne and paprika and cook for approximately 2 minutes. Stir in water and bring to a boil. Add roast cauliflower and potatoes and cubed peppers. Cook covered for about 5 additional minutes. Turn off heat and add the sour cream, stirring gently to combine.
Serve over steamed white or brown rice.
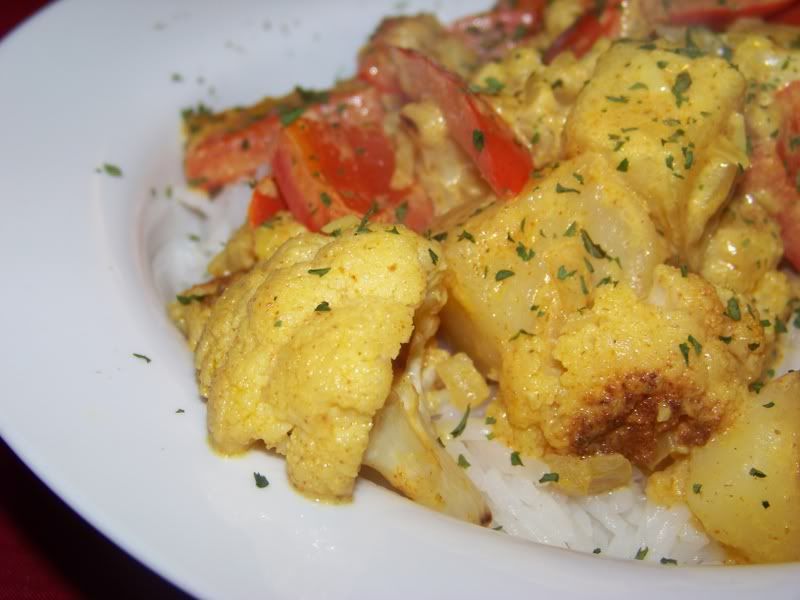
I was pleasantly surprised with the flavor and texture of the entire dish. The peppers - added at the very end - give a nice raw pepper crispness and provide such a vibrant color to the entire dish. Next time I will add more of the spices as the sour cream seemed to "cool" then down a little.
Wednesday, January 30, 2008
Tuesday, January 29, 2008
Weekly Meal Planning
Monday - Leek Fritatta with Cranberry and Walnut Salad
Tuesday - Indian Spiced Cauliflower and Potatoes with Steamed Brown Rice
Wednesday - Ditalini with Pesto, Bean and Broccoli Rabe
Thursday - Polenta and Vebetables with Roasted Red Pepper Sauce
Friday - Dinner out
Saturday - Curried Red-Lentil Stew with Vegetables
Vegetarian? Yes. Vegan? Almost. Does Nathan know? Not yet.
Friday, January 25, 2008
Poached Pears with a Simple Fruit Salad
I've been craving dessert like no body's buisness lately - probably because I am trying to restrict myself from sugary foods in an effort to get back on track after the holidays, which pretty much isn't as bad as I thought it would be. However, the other day I went to a local produce outlet and was blown away by all of the beautiful fruits and vegetables at just pennies! For $19 and change, I bought: a cantelope, 3 kiwi fruits, 2 pears, 1 pint each of blueberries and blackberries, 1 lb of strawberries, a cucumber, 1 red pepper, 1 bunch of flat leaf parsley, a loaf of crusty Italian bread and some feta cheese. How exciting is that?!??
Back when I made the White Chocolate and Spiced Pear Tiramisu, I really enjoyed the soft graininess of the poached pears, and immediately wanted to try a different kind of dessert that involved those wine poached pears. A perfect inspiration!
The following is the result:
WINE POACHED PEARS WITH A SIMPLE FRUIT SALAD
Poaching liquid:
4 ripe Anjou pears, peeled but left whole
2 cups of dry Vermouth
2 cups of pear nector
4 whole cloves
1 cinnamon stick
1 vanilla bean, split
4 tbsp honey
Fruit Salad (cut into small pieces):
1/2 cantelope
1 lb strawberries
1 pint blueberries
1 pint blackberries
3 kiwi fruit
In a deep saucepan, combine all sauce ingredients. Drop in peeled pears and bring liquid to a boil. Drop heat to a simmer and cook for 30-40 minutes, or until the pears are fully poached and soft when pierced with a knife. Remove pears from heat and set aside. Increase heat and bring the liquid to a boil, cooking until liquid is reduced and thick. Let cool.
Meanwhile, cut up all fruit salad ingredients into small pieces (as this resembles a salsa of sorts). Place in a bowl and keep chilled until service.
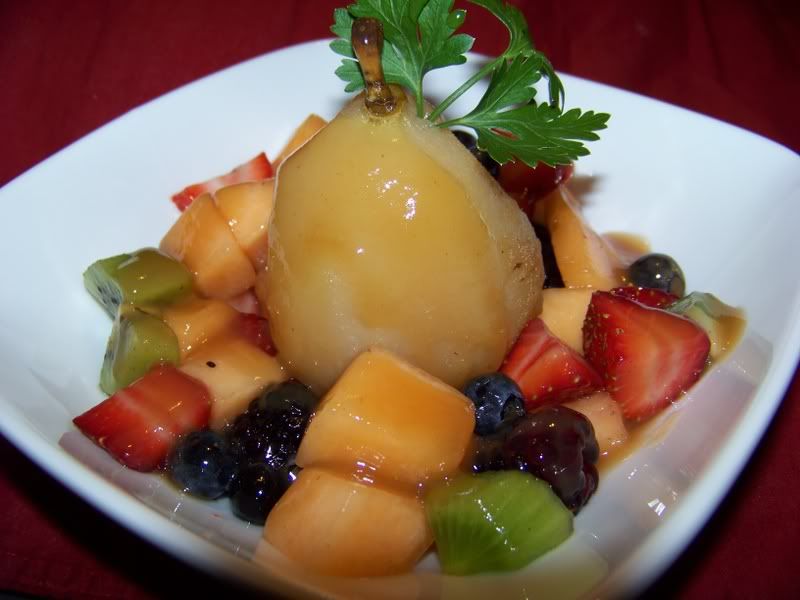
For service: Place fruit salad in a bowl, creating a crater in the middle for the poached pear to sit. Position pear, and drizzle sauce over everything. Add a sprig of mint (I only had parsley on hand!) to the pear for a bit of whimsy. If desired, sprinkle a touch of powdered sugar over dessert, or add a dollop of fresh whipped cream. Stand back and take the compliments!
Not only are you eating every color in the rainbow - which the experts say is beneficial, but you are also experiencing a bunch of different tastes and textures. This dessert was the perfect ending to a light meal, and was not much fuss to prepare (although it did remind me that it is time to sharpen my knife). Plus, how pretty!
Edited to add: Son of a Bitch!!! I thought I was being super cleaver creating a new recipe...but epicurious.com had a very similar recipe (and picture) for almost the exact same thing! Sigh.
Labels:
Dessert,
Diet Friendly,
I Like Liquor In My Food
Thursday, January 24, 2008
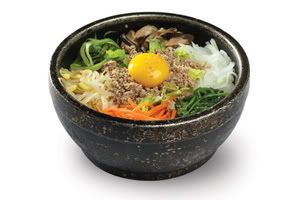
BiBimBob
I'm sure I mentioned it before now, but Nathan is 1/2 Korean - so Korean food has quickly become one of my favorite cuisines. I have a particular love for BiBimBob, and order it (almost) every time we go out to our favorite Korean restaurant. To me, it's the most perfect meal. You can eat a lot of it, and not get that "I'm going to slump into a coma" full feeling.
BiBimBob is basically a loaded salad covered in a spicy bean paste and served alongside some steamed white rice. BiBimBap is the same thing, only it is served over rice in a hot stone bowl, so the rice becomes crunchy on the bottom. I prefer soft rice, and don't enjoy the whole stone bowl thing, as I often suffer burns while trying to eat out of it. Seriously!
BIBIMBOB (Kat style)
4 portions
1 6oz. beef tenderloin steak, sliced thin
2 big handfuls of baby spinach
1 handful of fresh bean sprouts
6 oz. fresh shiitake mushrooms, stems removed and sliced
1 carrot, peeled and grated
4-6 cups of chopped romaine lettuce
1/4 cup diacon radish, peeled and grated
2 green onions, sliced
4 chicken eggs
3 tbsp vegetable oil
toasted sesame seeds, for garnish
8 tbsp Gochujang
4 tsp water
Prepared rice
Kimchee (a must!)
Heat oil in a large skillet. Brown beef, and set aside. In the same skillet, bring 2 cups of water to a boil. Drop in spinach, carrots, diacon and mushrooms. Cook until spinach is wilted. Drain from boiling water and set aside.
Meanwhile, distribute chopped romaine between 4 bowls. Top each bowl with beef, and blanched vegetables. Add bean sprouts and green onions. Mix together gochujang with water and divide into 4 small condiment cups.
For added flair right before service, add 1 egg yolk (or gently fry an egg if you do not want to do the raw stuff) to the middle of the bowl on top of the vegetables. Top with toasted sesame seeds.
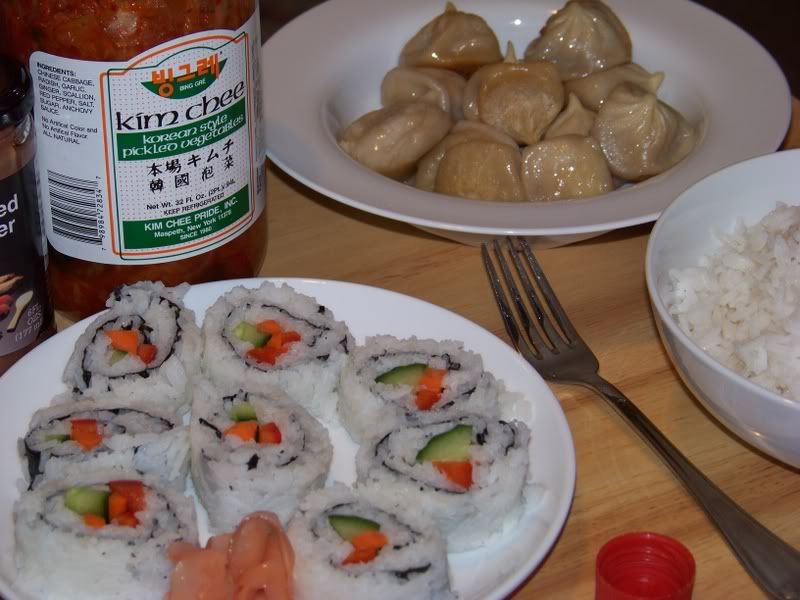
To eat: break the egg yolk and mix in the gochujang mixture. Enjoy with rice and kimchee, and a dumpling or two!
I also tried my hand at a little vegetable (carrot, red pepper and cucumber) rolled sushi, which wasn't as bad as I anticipated. I couldn't find the wasabi that I purchased a couple of weeks ago, until after our meal was over. Turns out it was right in front of my face. Figures.
Monday, January 21, 2008
Weekly Meal Planning
For the week of January 21 - January 26.
Monday - Mushroom and Barley Soup with Crusty Bread for dippin'
Tuesday - Grilled Chicken Kebabs with Greek Salad
Wednesday - BiBimBob (Korean Vegetable Rice Bowl)
Thursday - Sweet and Sour Chicken Thighs with Carrots over rice
Friday - Shrimp and Sweet Potato Cakes, with Cabbage and Apple Slaw
Saturday - Penne with Chicken, Shiitake Mushrooms and Capers
Ice Cream Cake
My brother turned 18 this past weekend, and being the snow-covered jack rabbit that he is, asked for an ice cream cake instead of a traditional Birthday cake. Just thinking about it makes me shiver!
My grandmother discovered the art of the ice cream cake when I was around the age of 15 - and for about 4 whole years that's all anyone ever got for their birthday. My grandmother had a real sweet tooth (even though she had dentures!) and would place little surprises in the ice cream layers that would seriously send you off to the dentist in pain...snickers bars, Carmelo squares, M&M's - - all of which would harden to bricks when frozen!
Truth be told, ice cream cakes are super easy to make as there is no baking involved. There's no right or wrong way to make one, and you are only limited by your imagination, and perhaps your wallet. Premium ice cream is expensive!
ANDY'S 18TH BIRTHDAY ICE CREAM CAKE
1/2 gallon (each) Friendly's Forbidden Chocolate and French Vanilla ice cream, softened
1 package chocolate wafer cookies
4 tbsp butter, melted
Butterscotch topping
Chocolate fudge topping
Butterfinger crunch topping
Place cookies in a food processor, and pulse until cookies become the texture of coffee grounds. Add melted butter and pulse to combine. Press cookie mixture into the bottom of a large (10-12 inch) spring form pan.
Evenly spread your 1st choice of ice cream directly on top of the crust layer. (I always put the darker ice cream on the bottom so that it doesn't "bleed.") Layer candy/crunch topping, butterscotch and chocolate fudge topping. Place pan in freezer for about an hour to firm up ice cream.
Evenly spread your 2nd choice of ice cream directly over the candy layer. Decorate as desired. Freeze overnight covered with plastic wrap.
To serve, remove from freezer about 1/2 before cutting. Gently run a knife around the edge of the spring form pan to loosen the ice cream. Cut into wedges and serve with a drizzle of chocolate fudge topping.
Did you wish for a cure for ice cream headaches?
Brussel Sprouts Alfredo
I didn't try a Brussels sprout until I was well into adulthood, and with good reason - - my mother hates them with a passion. I like anything and everything in cabbage family, Brussels sprouts included! Steamed and tossed with some butter and salt...oh man! I just adore their earthy flavor.
The grocery store had some lovely organic Brussels sprouts that I simply could not pass up when I did my weekly shopping. I bought only about a cups worth - - and immediately started to think about how I would use them.
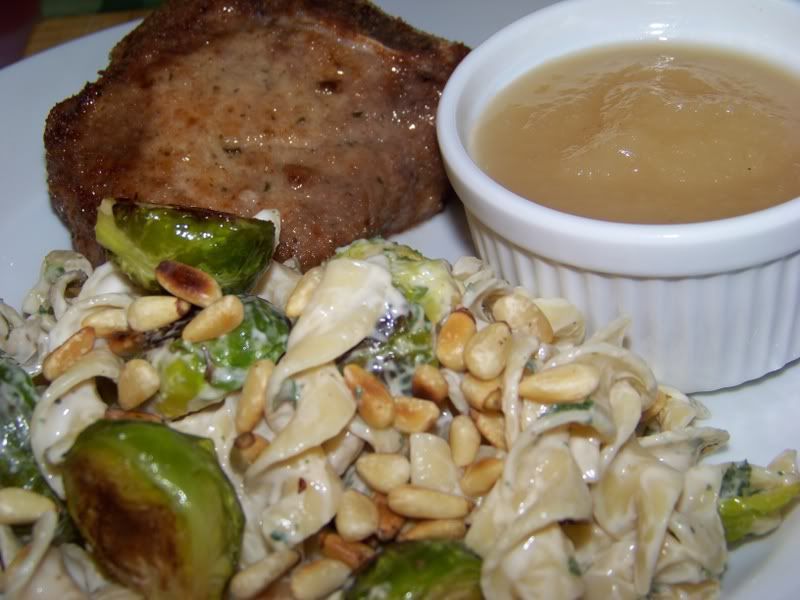
BRUSSELS SPROUTS ALFREDO
1 cup of Brussels sprouts, trimmed and halved
2 tbsp olive oil
1/4 cup pine nuts
egg noodles
1 jar of your favorite Alfredo sauce*
salt and pepper, to taste
Preheat oven to 400 degrees. Place Brussels sprouts on a baking sheet. Drizzle with olive oil and season with salt and pepper. Roast in the oven, turning once, until sprouts are tender and have developed color. Remove from heat.
Prepare pasta as directed. Drain. Add Alfredo sauce and roasted Brussels sprouts, gently stirring to combine. Season with salt and pepper, to taste. Meanwhile, toast pine nuts in a dry skillet until browned. Sprinkle pine nuts over side dish at service time.
I served this pasta side dish alongside breaded and baked bone-in pork chops and applesauce.
The meal itself was pretty darn fantastic! The pasta satisfied that need for something "creamy" without dominating the plate (as I am being very mindful of portion control), and the pine nuts added just a touch of crunch. And, the whole meal was done in about 30 minutes - including roasting time, which also makes it great for a weeknight dinner.
*To make this more of a main dish, add some pre-cooked chicken to the final product.
Labels:
Pasta'licious,
Quick and Easy,
Vegetarian
Wednesday, January 09, 2008
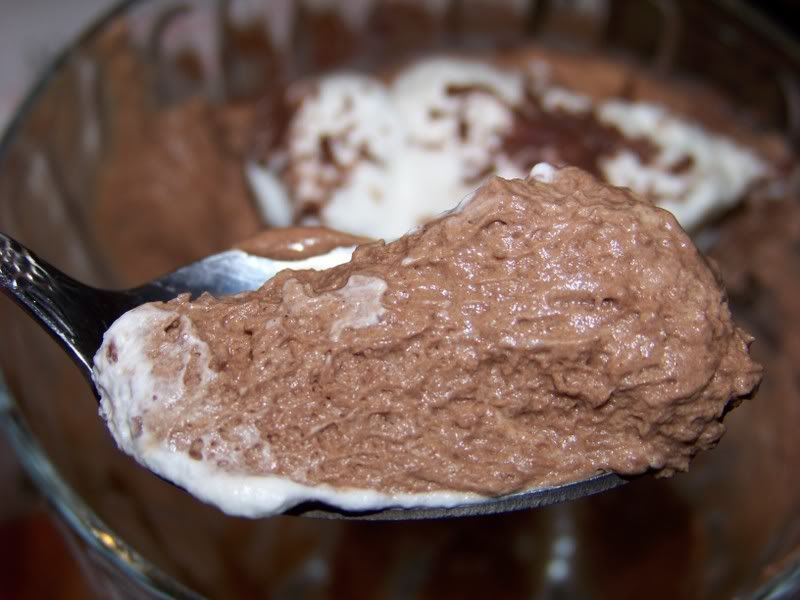
Chocolate Mousse
For years, Nathan has been telling me that he does not like chocolate. I always chuckle when he makes this statement, because he is totally fooling himself! Case in point, whenever we go out to dinner and treat ourselves to dessert, he picks whatever delicious confection has "chocolate" in the title. Naturally I do too - but I'm not lying to myself over my likes and dislikes! I gently remind him of his total apparent dislike for chocolate when he's on his last bite.
Last night, he succumbed and admitted that he is a chocolate fan.
I've been wanting to try my hand at Chocolate Mousse for some time now. Mousse is supposed to be cloud-like, yet rich...and the recipe that I found looked very easy, with only a couple of ingredients and steps. And you know what? It came out amazing!!! I may use a milk chocolate instead of bittersweet chocolate next time, since it was a little too bitter for my tastes - but the end result was light and fluffy, and the perfect ending to a light meal.
BASIC CHOCOLATE MOUSSE
3 large egg yolks
Pinch of salt
2/3 cup whole milk
12 ounces imported milk chocolate, finely chopped
1 teaspoon dark rum (optional)
1 1/2 cups chilled whipping cream, divided
Dark chocolate shavings (for garnish)
Whisk yolks and salt to blend in medium bowl. Bring milk to simmer in medium saucepan over medium heat. Temper milk into eggs, then gradually whisk tempered eggs to hot milk into yolk mixture; return to same pan. Stir over low heat until custard thickens, about 1 minute (do not boil). Remove from heat; add chocolate. Whisk until chocolate melts and mousse base is smooth; whisk in rum. Cool 45 minutes on the counter.
Beat 3/4 cup cream in bowl until peaks form; fold into mousse base. Place prepared mousse in service cups, cover with plastic wrap; chill at least 4 hours. (This mousse is extremely rich, so don't go overboard filling your vessels...)
Before service, beat 3/4 cup cream in another bowl until peaks form. Drop a dollop of whipped cream onto mousse and sprinkle with chocolate shavings. Serve!
I wish I had taken a before picture of the finished dessert, because it was so impressive...but we were both too excited to dig that we didn't stop to think first.
Monday, January 07, 2008
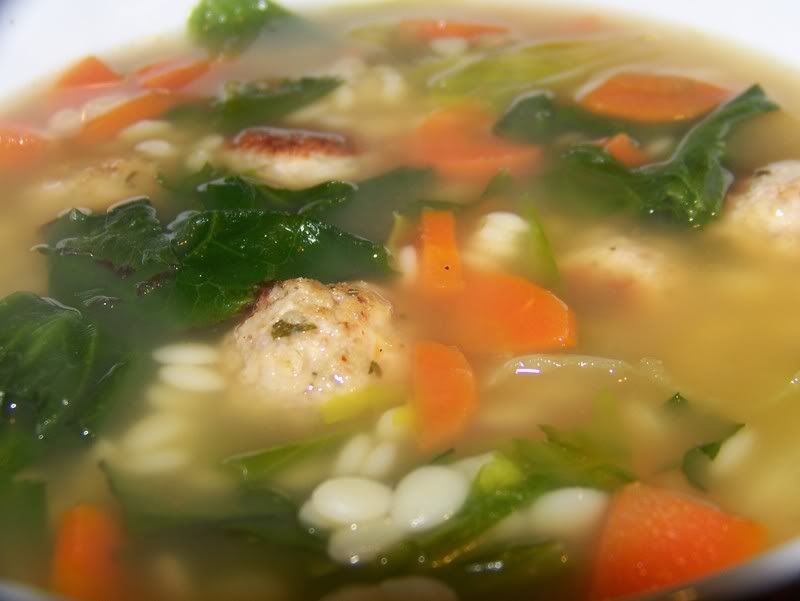
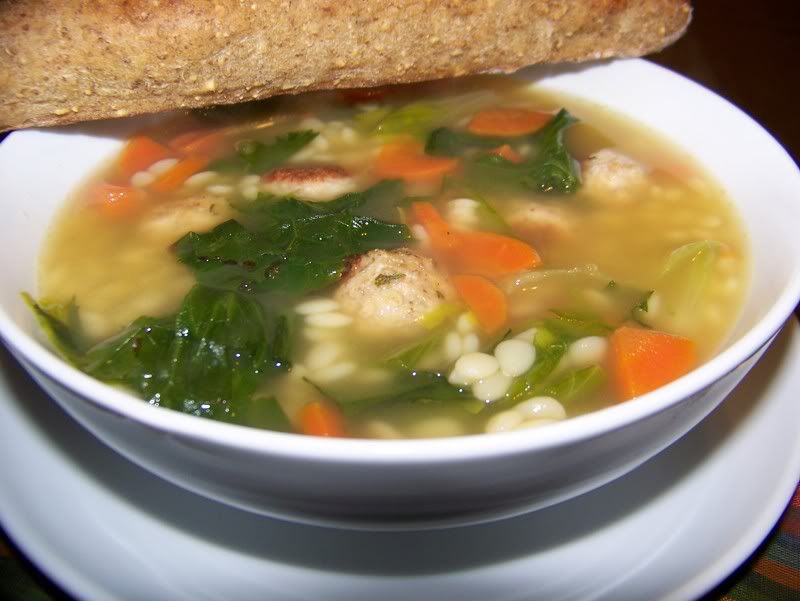
Turkey Meatball, Orzo and Escarole Soup
I realized the other day that it has been a very long time since I made any kind of soup for dinner. It's time for soup!!! The days are cold and blustery and there is nothing better than coming in from outside with a hot bowl of satisfying soup. Gentle warmth from the inside out.
Eating healthy has had it's challenges. I prefer creamy soups as opposed to clear soups, so I am trying to psych myself out and change my preferences - without sacrificing flavor and texture. Substituting a leaner chicken breast or turkey breast meatball for a beef meatball is a smart and healthier choice. I'm most surprised by how tasty the low sodium or sodium-free chicken stocks are! I thought they would be very bland and watery, and that is just not the case. I've also focused more on eating colors. Red beets, purple cabbage, green spinach, orange carrots - - a rainbow on your plate signifies health and well being.
If only I would stop procrastinating and get myself to the gym!
What was I talking about? Oh yes! Soup! The following soup has become an instant classic in my kitchen. It was easy to prepare, tasty, reheats well and kept me full for the rest of the night due to the high protein content of the turkey meatballs.
TURKEY MEATBALL, ORZO AND ESCAROLE SOUP
For the meatballs:
1 lb ground lean turkey breast
1 cup Italian style bread crumbs
2 whole eggs
1/2 cup grated parmesan cheese
1 tsp onion powder
1 tsp garlic powder
1 tbsp dried parsley
1 tsp paprika
salt and pepper
Preheat oven to 375 degrees.
Add all meatball ingredients in a large bowl, and gently combine with your fingers. Do not overmix! Form meatballs into 1 inch balls and place on an oiled baking sheet. Bake in the oven for approximately 20 minutes, shaking the baking sheet halfway through the cooking process. Remove from heat and let cool.
Leftover cooked meatballs can be frozen for up to 3 months in a zip lock freezer bag.
For the soup:
Prepared Turkey Meatballs
1 1/2 cups chopped carrot
1 cup dried orzo
8 cups chicken stock
4 cups roughly chopped escarole
salt and pepper, to taste
water, if needed
In a large stockpot, bring chicken stock to a boil. Reduce heat to a simmer, and add carrots and orzo. Cook for 10 minutes. Add turkey meatballs and escarole. Cook until meatballs are completely heated through and escarole wilts into the soup. (Add water, if soup is not broth'y enough.) Season with salt and pepper.
Serve with some bread of your choice. My choice was a 9-grain breadstick, so easy dipping.
The meatballs provided the biggest flavor punch with just a hint of garlic in the background, and the carmelized texture from baking them in the oven. The orzo was nice and tender. My only change would be exchanging the escarole for spinach, as I prefer the taste of spinach to the other. (Escarole is a lettuce, and even though it does wilt into the soup, it still keeps a watery crunch.)
Wednesday, January 02, 2008
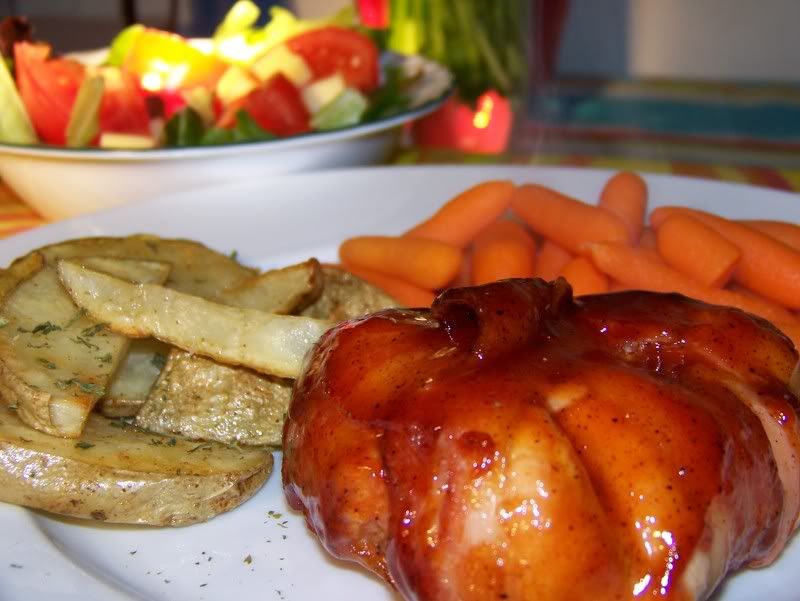
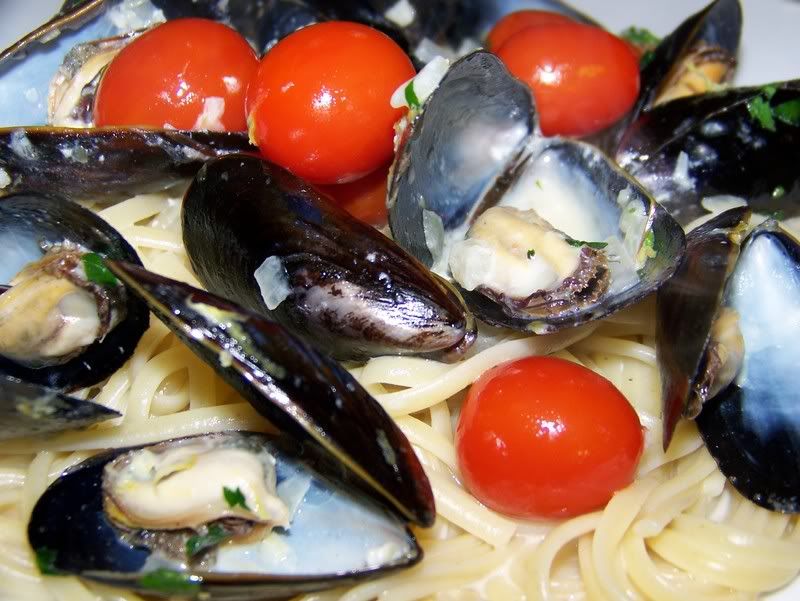
2007, in pictures...
I'm a total copier. But imitation is the sincerest form of flattery, right? When I saw some of my favorite blogs showing off their year in pictures, I knew I had to join in the fun. Here are some of the dishes that I made in 2007, in no particular order.
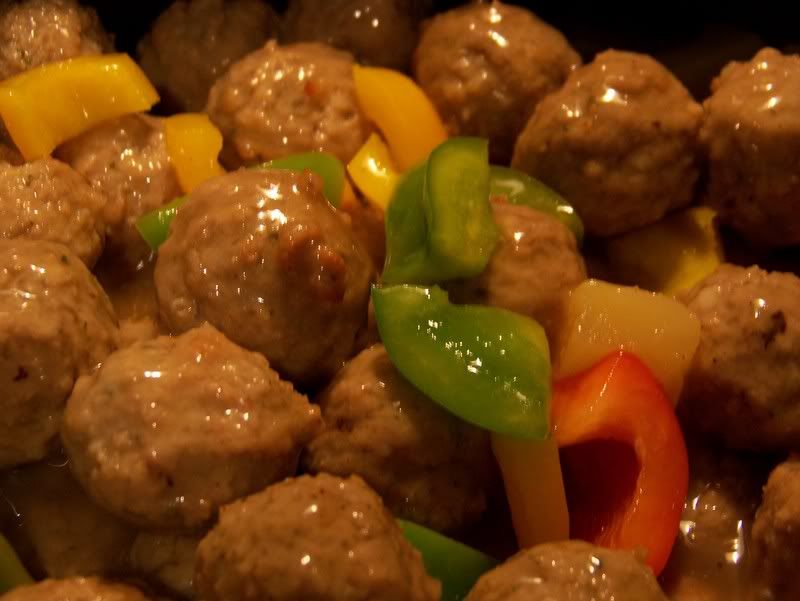
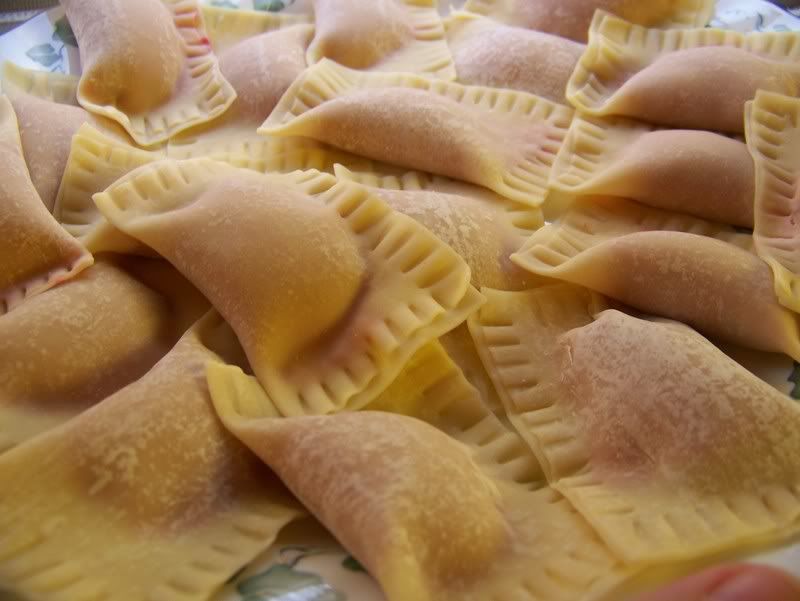
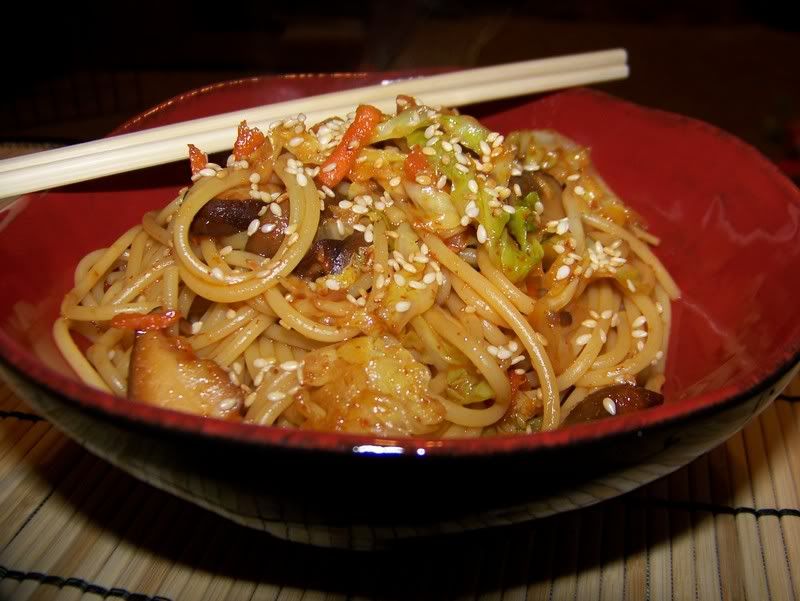
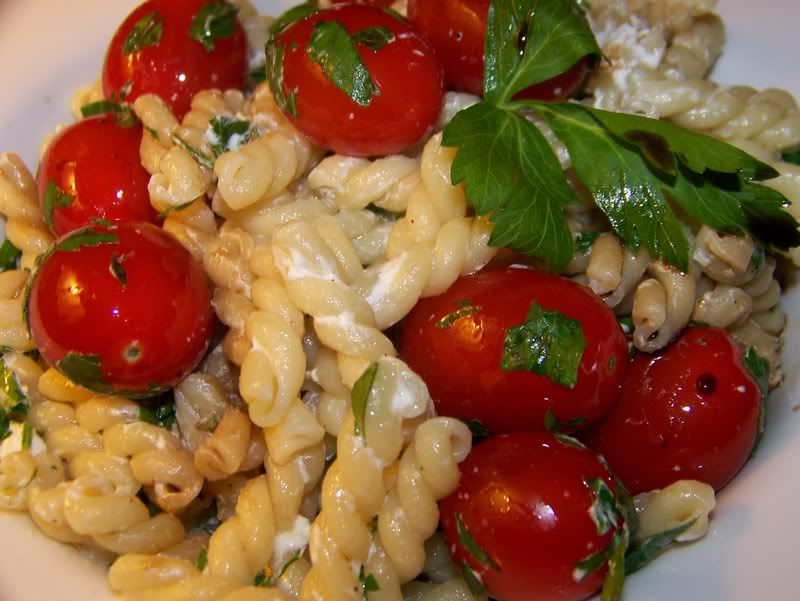
When I first started this blog over a year ago, I never thought that I would have enough know-how to fill an actual blog! I knew that I loved cooking and baking and that I had some pretty amazing recipes in my aresenal of tricks. This blog has been a culinary confidence builder!
Here's to a fantastic 2008 and even more foodie surprises!
Subscribe to:
Posts (Atom)